A clogged toilet can turn a simple morning routine into a stressful ordeal. Knowing how to use a bathroom plunger effectively is an essential skill for every homeowner. While plungers might seem straightforward, using the wrong technique or type of plunger can make a clog worse or even damage your toilet. This comprehensive guide will walk you through the basics, step-by-step instructions, best practices, common mistakes, and alternative methods if your plunger isn’t enough.
Short Answer: How to use a bathroom plunger
To unclog a toilet, position the plunger over the drain hole, ensuring a tight seal, and plunge using controlled pressure until water drains freely. Always wear gloves and take proper hygiene precautions. This method works for most common toilet blockages, including partial or complete clogs caused by waste or toilet paper.
Understanding Bathroom Plungers
What is a bathroom plunger?
A bathroom plunger is a manual tool designed to clear clogs from toilet drains. It works by creating a vacuum and forcing water through the pipes to dislodge obstructions. Toilet plungers differ from sink plungers in design: while sink plungers have a simple cup shape, toilet plungers often feature a flange that fits snugly into the toilet drain for a stronger seal.
Types of bathroom plungers
Not all plungers are created equal. Choosing the right type makes plunging more efficient:
- Standard Cup Plunger: Flat-bottomed, ideal for sinks and shallow toilets. It’s affordable and easy to store but less effective for deep toilet clogs.
- Flange Plunger: Toilet-specific design with an extended rubber flange. Creates an excellent seal, making it perfect for toilets.
- Accordion Plunger: Designed for severe toilet clogs, offering powerful suction. Be careful, as it can damage older or fragile toilets.
When to use a bathroom plunger
Plungers are effective for:
- Slow-draining toilets.
- Partially clogged toilets.
- Fully clogged toilets caused by non-hazardous materials.
Safety tips: Always wear gloves, avoid chemical cleaners while plunging, and wash hands thoroughly after use.
Step-by-Step Guide: How to use a bathroom plunger
Step 1: Prepare the toilet
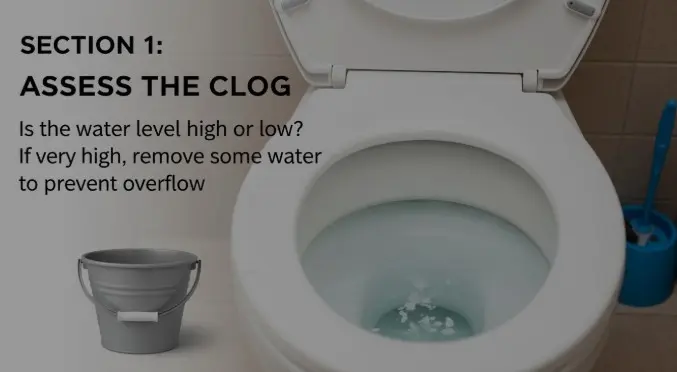
Check the water level: there should be enough water to cover the plunger cup. Remove any excess debris or foreign objects that could interfere with plunging.
Step 2: Position the plunger correctly
Place the plunger over the drain hole, ensuring the flange (if present) is fully inserted to create a tight seal.
Step 3: Create a seal and plunge
Push and pull the plunger in a steady motion without lifting the cup from the drain. Focus on pressure rather than speed. Avoid excessive force, which can damage the toilet.
Step 4: Check results and repeat if necessary
After several plunges, lift the plunger to see if water drains. Repeat the process if the toilet is still clogged. If repeated attempts fail, consider alternative methods.
Step 5: Clean the plunger and surrounding area
After successfully unclogging, rinse the plunger with hot water and disinfect it. Clean any spills or splashes around the toilet.
Tips for effectiveness:
- Ensure enough water is in the bowl for suction.
- Avoid over-exerting; controlled pressure works better.
- Recognize when it’s time to call a plumber if plunging doesn’t work.
Common Mistakes When Using a Bathroom Plunger
Plunging too aggressively
Forcing the plunger can damage the toilet or pipes. Controlled, steady plunging is more effective.
Using the wrong plunger type
A standard cup plunger may not create a proper seal in a toilet. Use a flange or accordion plunger for toilets.
Ignoring safety and hygiene
Always wear gloves and clean the plunger afterward. Chemical cleaners should not be used simultaneously.
Not checking for underlying plumbing issues
Persistent clogs may indicate more serious plumbing problems that require professional attention.
Bathroom Plunger Comparison Table
| Plunger Type | Best Use | Pros | Cons |
|---|---|---|---|
| Standard Cup | Sink, shallow toilets | Affordable, easy to use | Less effective on deep clogs |
| Flange Plunger | Toilets | Excellent seal for toilets | Slightly harder to store |
| Accordion Plunger | Severe toilet clogs | Powerful suction | Can damage older toilets |
Alternative Methods if a Plunger Doesn’t Work
Using a plumbing snake or auger
Plumbers’ snakes can reach deep clogs that a plunger cannot. Insert the snake into the toilet drain and rotate to break up the blockage.
Eco-friendly chemical drain cleaners
Enzyme-based cleaners are safer than harsh chemicals, gradually breaking down organic material in the pipes. Always follow manufacturer instructions.
Professional plumber intervention
For persistent or severe clogs, call a licensed plumber. They have specialized tools and expertise to prevent damage and ensure a thorough solution.
FAQs About How to Use a Bathroom Plunger
- Can I use a standard sink plunger on a toilet?
While possible, a standard sink plunger often cannot create a proper seal on a toilet, making it less effective. - How long should I plunge a clogged toilet?
Plunge for 15–30 seconds at a time. Take breaks if needed, and check results after each attempt. - What should I do if the plunger doesn’t work?
Consider using a plumbing snake, an eco-friendly chemical cleaner, or calling a plumber. - How do I clean and sanitize a plunger after use?
Rinse with hot water and disinfect with bleach or a strong cleaning solution. Let it dry completely. - Can plunging damage my toilet?
Yes, excessive force or using the wrong plunger type can crack porcelain or dislodge seals. - Should I add water to the bowl before plunging?
Yes, water should cover the plunger cup to create suction. Avoid overflowing the bowl. - Is there a best technique to prevent splashing?
Use slow, controlled pushes and pulls rather than fast, forceful plunges. - How often should I replace my plunger?
Replace every 1–2 years, or sooner if the rubber is cracked, warped, or loses its seal.
Safety and Hygiene Tips
- Wear gloves and protective clothing when plunging.
- Wash hands thoroughly after use.
- Avoid chemical cleaners during plunging to prevent splashes and chemical reactions.
- Ensure proper ventilation if chemicals are present in the bathroom.
Conclusion
Knowing how to use a bathroom plunger is essential for maintaining a functional bathroom. Choosing the right plunger, following proper technique, and understanding safety precautions can save you time, money, and frustration. Remember to keep a high-quality plunger on hand and use it correctly for both minor and major clogs. With this guide, you’ll tackle toilet blockages safely, effectively, and confidently. For more information visit The Kitchen Consultants now!